I am currently not a re-enactor, but have visited Kentwell [see preamble] and we are really keen as a family to join the tudors. Other people I know have found the mediaeval tailors assistant to be really helpful for clothes, or the tudor tailor. If you are a Kentwellie, there are hints and tips in the costume notes, some on the website and more help at costume weekends. for the pourpoint i sought help from kentwell costume elves.
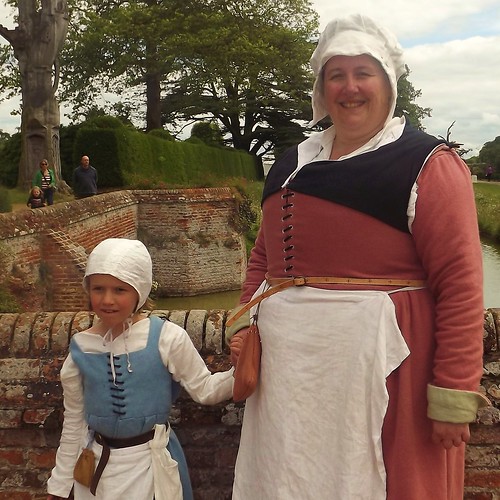
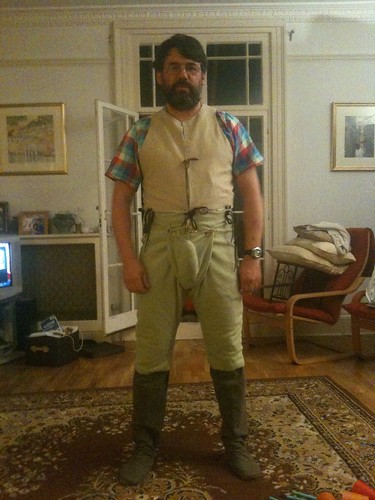
pourpoints/petticoates/wyliecoats call them what you will, were introduced to Kentwell as a new thing this year so that hose could be pointed to them and doublets taken off without showing too much back cleavage or hose falling off! Many places don’t use them. I have to say, I did like the look of the men with their pourpoints. The design of this was therefore made up by me based on hints and tips, as was that of the partlet I might redo the partlet one day!
NB Anyone thinking of making clothes for re-enactment, please check with your group the ‘rules’ on materials, colours and look. different tudor years have different styles – tho less so for poor, especially poor kids. following these notes does not guarentee acceptance of clothing by Kentwell or any other group, but may help a total novice such as myself. I had never made any clothes before these – a hint of my novicitude.
I wrote this initially in march 2012, but have added in the things that had I had known I would have done differently – mostly in italics ![]() . however, the clothing was passed for Kentwell 1556 .
. however, the clothing was passed for Kentwell 1556 . ![]()
The pourpoint/petticoat/wyliecoat/whatever
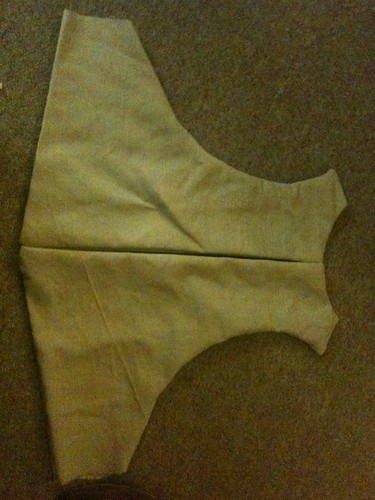
I started with an old tight shirt of DH and made a toile on him with a variety of lines and shapes and took this to a kentwell open day to discuss which shape the elves prefered. it was with fairly big armholes, especially to back to allow lots of movement, but a round neck at the front – tho i note lots had more of a waistcoat neck, so i guess either will do. the tudor waist is quite high – it is where you bend, and the elastic shows where dh tudor waist sits.


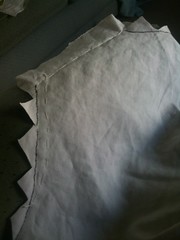
I used a beige linen for this of medium weight. I made my classic not cutting on a fold mistake so the back has a middle seam, so feel free not to repeat this mistake! and cut on a fold so the back is as one. you will need 4 front pieces [inner and outer left and right] and 2 back pieces if cut as a whole [or 4 if you go wrong like I did]

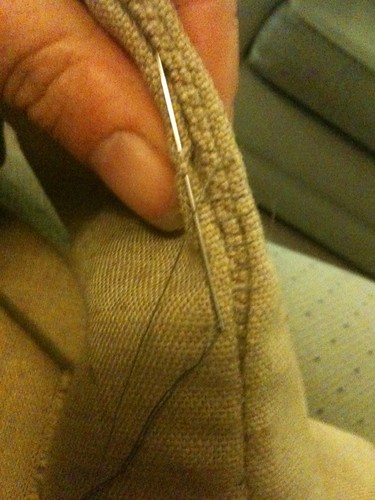
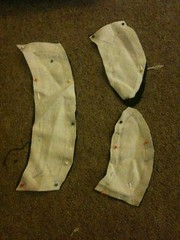
i then sewed with backstitch right side to right side as you can see, just tacking along the bottom as i will need to adjust that when know the height of the hose, and not sewing along the underarm seam. I turned the pieces to right way out through this opening and pressed. Before you turn inside out, you do need to snip triangles into the spare material on the curves so it will lie flat – see the partlet pics.


I sewed the mistake back seam together – whipstitching the under layer and then ladder stitching the top.
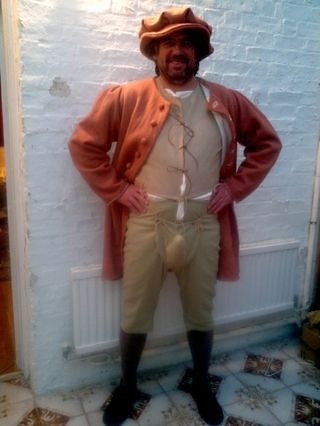
I then tried on my dh to get the side seams tight. I then closed these also in 2 layers, and again at the shoulders in 2 layers and we put it on.

finally it was all done bar the eyelets


i left the eyelets till the hose was made, then i undid the lower tack at the bottom, sewed in some canvas to strengthen there and paired eyelets around the bottom to match the hose and also eyelets up the front
The Partlet
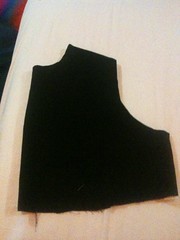
in fact this was made very similarly to the pourpoint. There are quite a few different designs about, and I must admit that my mistake here was not to include the collar bit as one – sigh! never mind. a new item of clothing, a new mistake. The partlet is commonly made of light black wool on the outer – tho can be of a different dark colour or white – check with your group – and white linen or fine wool inner. I had black linen and white linen, so after checking, i used this. the difference from the pourpoint was that it is cut higher – i again tacked the bottom so as to get the height right once i had made the kirtle, the armholes fit more closely and it has a raised collar. the individual steps more or less the same tho, including making a toile first. then sewing right side to right side with backstitch and snipping the triangles before turning right side out.


then sewing the side seams together so sits snugly and also at the shoulders – whip stitch the lower and ladder stitch above just like with pourpoint


when i had made kirtle I adusted where the hem of this was and added a brass hook and eye to hold closed. it had ridden up in this picture, so maybe i will pin the partlet in place.